100mb of Steems to above track Ten Days of ma Life: Zipped and carefully put into together. With 11 steems of the full track with two alternatives for sidechained with Kick. 3:15 minutes long. Steems for Dealazer.com – Ten Days of ma Life (WonderousBeat.com Production) Would you want to buy the beat, well don’t budge that more, hop into the stream by greatest producers of hits, who will take your step ahead of your competition! https://www.wonderousbeats.com/downloads/ten-days-of-ma-life/
Author: Swagger
Yes, masses the silent m masses… Mainstream paid well to silence all producers! Your effort to post anything gives you the fewer plays. The promotions are weak and offer nothing… We are as producers silenced! This though means a new future is ahead and plans to win the game for all participants in the following: Create your plan. People around you who you support, musicians who will be able to promote you one day on several social media. And you them for different ways. The lonesome wolf does not win. You need partners and collaborators, plans to work with others…
How to send your projects is simple to others! For united collab and making tracks bigger Better and sounding great! Collabs need new input, maximizing the effort! That’s how the producers of greatness do! You need to do it fast as well! But to send over: Save the project in a folder and save the .flp in the same folder. Then you can export all data files into the folder which makes zip in the folder with all your data this way: Then zip the project and send it! You can do pre-preparation and use macros to purge unused audio…
There are different options on how to fit your vocal to a beat, but if it’s a different tempo and not the same beat used. You might come into a few troubles. First, detect the tempo of the beat – push on the left corner marker of a sample with the first mouse button: Then you will be able to choose the detect tempo feature: Now choose slightly 75 to 150 choice, if you don’t know already the bpm of the beat. Which is the estimated value, or you can just set it in the original FL bpm tempo option…
When you make a track, most often your bass and kick will play together. Therefore it’s often important to sidechain the kick with the bass and the 808 bass drum with either the bass or bass with the 808 bass drum. Learn a unique technique of Sidechain to remove muddiness and add room for a kick with the bass that is played in your track, like a professional. This is probably the lazy mode and is more precise if followed up on with delicacy on tuning with delay of the plugin peak controller: This is the easy tutorial; Send the…
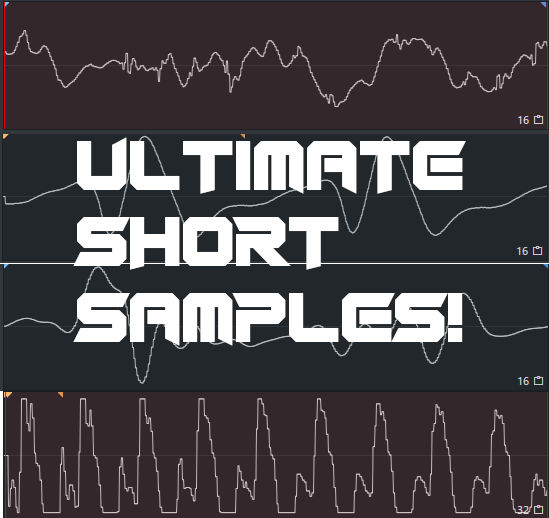
With this collection, you can easily make your fresh sounds out of 1kb or 2kb sound samples. The group is of 6803 samples ranging from 512 bytes to around 2kb in two different folders. You can quickly put it into the step sequencer by dragging one sample out of the file browser when you copy this collection into your sample collection. So by adding just a touch of this example: The CROSSFADE was edited: By small adjustment of CROSSFADE, you can use then, as this sample loop the sample, of around 1ms. By using that option, your sound will most…
If you find one melody loop? What can you do to make it yours likewise if the notes are fresh enough? To make it sound the same notes as yours? It can be done to bass loops or any melody loop. Even hihat loops which can create fresh, strange melodies that can be used to create a new instrumental sound by this method. There are different steps to proceed to copy out the notes. But for some, it’s unusual and hard just by listening. It can be done to even vocals. To find the same pitch of the vocals so…
It’s quite simple to make 808 with Sytrus if you are a beginner. There are some steps to perform to make it. First, change you’re preset to default. Then edit freq ratio to 0.000 x Then change the Hz to around 48. Then edit the envelope to around this: In the video, it is shown more precisely the different things you can do to modify an 808 more perfectly. And how to master it at the end. It 5mb Video. So it’s not big on data.
The video is short but cool, 1:33 taking you on a different path with Fruity Granulizer With just a few hints on how you can do it, it’s then simple to implement it on your studio. Video is 4MB and all tutorials are cached and compressed to the most on our site, Enjoy!
With different services on the net, you can earn your income with your debit card to sing upon various services that require you to sign for 0.01$ debiting your account. That way, you can sign up on 10-50 different services in your country and exchange that into Bitcoin. You need first one email account, which you use specific to the earning, to avoid using your primary email. That way, you can create one at Hotmail or Gmail. Then with having a bitcoin address, which you can get by signing up on the first link: www.blockchain.com Then push on request, and…
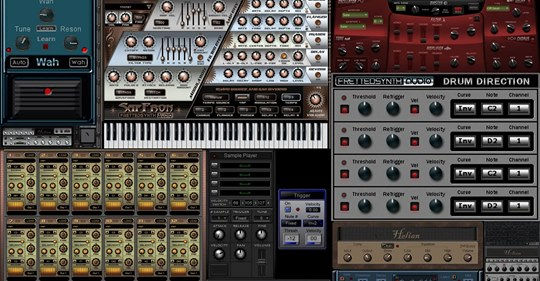
From vst4free.com, you can download all the necessary Guitar plugins, but there are few you have to search for in regular which are not listed anywhere. The arsenal needs to be as well with other plugins from AcmeBar as well are great distortion plugins that many should perhaps look after. But we as well recommend Freeamp 2.5 and 3. For your guitar from Fretted Synth downloads at: https://rekkerd.org/fretted-synth They have a big range of plugins: Full download of all needed plugins are as well here: http://www.vst4free.com/index.php?plug-ins=Guitar/Amp&l=0 If you are in look after the AcmeBarGig plugins well check out this location:…
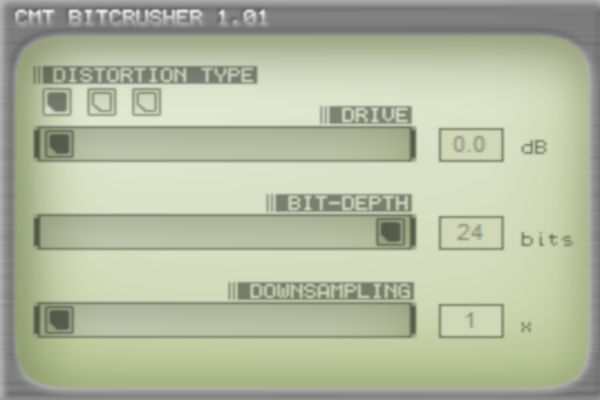
The best Bitcrusher in a simple plugin made by CMT You change the downsampling up to an 8x for the cool feature of bitcrushing your 808 or even vocal. That feature is taking a break or a part that needs a pause in your music to another dimension. Just remember to set it on with different types of automation that surely only make the sound available for a short time. The volume knob of the plugin in the mixer unit can be automated for that option. To set a different level when needed. This Bitcrusher can be used on nearly…
It’s like never before; I became nearly rich so close to the game! 1% of the population now have assets of cryptocurrency. And that means it’s still golden to recruit yourself into an affiliate of this FreeBitco! Since more straightforward, it does not get! I once earned simple 0.01BTC means I went off out with around 120$ from one of my referrals! That was cash, as usual, as always, I played away all my money on the casino. But now, I focus mainly on my motivation to stay away and push my business! But freebitco.io didn’t give me the income…
With WonderousBeats, you can produce the illest beats. Check their website for the hottest hits in the market. 9.99$ beats of unique quality and content that will beat your customers out of the game. wonderousbeats.com is also searching for talents who would like to earn 90% of the sales and get the quality and wonder type of finish as same as WonderousBeats. Use contact@wonderousbeats.com to send their information on how to sell beats with them. www.wonderousbeats.com
To pan your instrument or hihats using Stereo Shaper is possible. To get a 3D specific feature of your sound is a way to do it, especially with the stereo matrix. As often, you can automate all four handlers in Stereo Shaper to shape your sound in a specific way throughout in your track. Still, it’s a tedious work for very little income but has a distinct crisp sound that can be interesting to your listeners. Especially for auto-panning. You need to load first the Fruity formula controller: Use the preset called three steps LFO. And edit it little for…


